 A4 Front Page Studio
How to Print an A4 Front Page Correctly
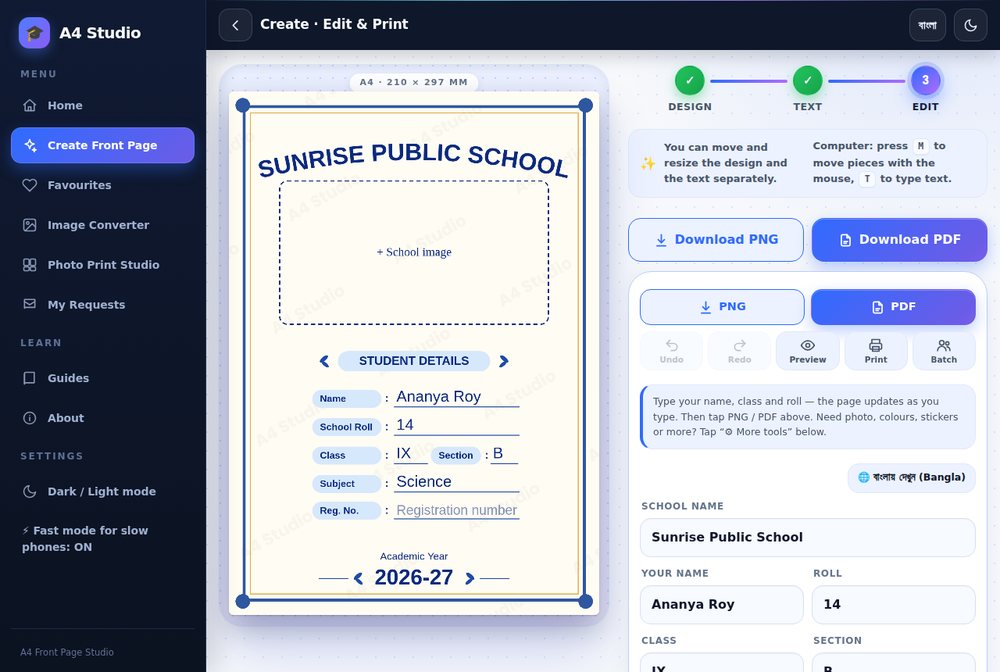
You spend twenty minutes on a neat front page, press print, and the paper that comes out has the border cut off on one side, the whole design shrunk with a white frame around it, or text that looks fuzzy. Almost every one of these problems comes from a handful of print settings that are easy to fix once you know where to look. This guide explains the settings that matter when you print an A4 school project cover from a phone, a tablet or a computer, in the order you should check them, and what to do when you cannot print at home at all. It also shows the print helpers built into A4 Front Page Studio.
Before you print: prepare the page
- Proofread every line. Printing a page with a spelling mistake wastes paper and ink.
- Check that all text is inside a safe area, at least 5 to 6 mm from each edge. Anything closer may be clipped.
- Use the preview in the tool to see the final page before you commit.
- Make sure the page was made for A4, and that the printer will use A4 paper, not Letter.
The print settings that matter
1. Paper size: A4
Set the paper size to A4 in the print dialog. If the dialog says Letter or Legal, the printer will scale or crop your page. A4 is 210 by 297 millimetres; see our A4 size guide if you want the exact numbers.
2. Scale: 100 per cent or Actual size
This is the setting that causes the most trouble. If the scale is set to “Fit to page” or a percentage lower than 100, your design shrinks and a white border appears. Choose “Actual size”, “100%” or “None” for scaling. Some phone print dialogs call it “Scale: Default”; if the result is smaller than expected, look for a custom scale option.
3. Margins
In a browser print dialog, margins may be set to Default, None or Minimum. If your cover has a frame that goes close to the page edge, choosing None gives the full page, but your printer may still clip the outer few millimetres. If you want a white border, choose Default. Neither is wrong; just keep your important content inside the safe area.
4. Orientation: Portrait
Covers are portrait pages. If the page comes out sideways, switch the orientation to Portrait.
5. Quality and paper type
For the final copy, choose Normal or High quality. For a test print, Draft or Economy saves ink. Plain white A4 paper of 75 to 100 GSM works for most covers, and a slightly thicker paper makes a nicer cover if your printer supports it.
6. Headers and footers
If you print from a web page, turn off “Headers and footers” in the browser dialog. Otherwise the date and the page address are printed in the corners.
7. Background graphics
If you print a web page directly, tick “Background graphics” so colours appear. This does not matter if you print from a saved PDF or image.
The print helpers in the tool
A4 Front Page Studio has a few options to avoid clipped edges:
- Print margin guide. Turn this on in the print and share section of the editor. It shades the edge area in red, the part that many printers cut off, with a dashed line showing the safe area. You can set the guide to 4, 5, 6, 8 or 10 millimetres.
- Auto-shrink to fit the margin. This reduces the page slightly inside a white border, so nothing is cut off. It applies to printing, PNG and sharing.
- Print button. It prepares a larger version of the page before opening the print dialog, so the print is sharper than a screen capture.
- Hi-res PNG. A 300 DPI image for a print shop or a high-quality home printer.
Printing from a phone
On most phones you do not print directly from the website. Instead, save the page as a PDF or PNG and print the saved file from the Files or Gallery app, or send it to a nearby print shop. In the print preview of a phone app, check that the paper size says A4 and that the page fills the sheet. If your printer is a wireless model, make sure the phone and the printer are on the same network and that the printer app or print service is installed.
When you cannot print at home
- Save the page as a PDF. A PDF keeps the layout fixed on any computer.
- Copy it to a pen drive or send it to the shop by a messaging app.
- Tell the shop: “A4, single side, 100 per cent, no scaling.”
- Ask for one test copy first and check the margins, spelling and colours.
Our guide to saving as PDF or PNG explains how to choose the right file for a shop.
Always print one test page
Before you print a stack, print one page and check these things:
- Are the four edges of the border all visible and even?
- Is the text sharp and readable?
- Do the colours look the way you expected?
- Is the page the same size as another A4 sheet laid on top of it?
Troubleshooting
| Problem | Likely cause | Fix |
|---|---|---|
| Border cut off on one side | Printer cannot print to the edge or the page shifted | Use the margin guide or auto-shrink, and print at 100% |
| Page printed small with white frame | Scale set to Fit to page or a low percentage | Set scale to 100% or Actual size |
| Text looks fuzzy | Low-resolution image or Draft quality | Use Hi-res PNG or PDF and Normal or High quality |
| Colours look dull | Economy mode or low ink | Use standard quality and check the ink levels |
| Page printed sideways | Orientation set to Landscape | Choose Portrait |
| Date and web address at the corners | Browser headers and footers on | Turn them off |
If the print still looks soft, read how to fix a blurry front page print. Also see our colour guide if the colours print darker than expected.
Quick answers
Why is my print smaller than the screen?
The scale is probably set to Fit to page. Choose 100% or Actual size.
Should I print one side or both?
One side, because a cover page is a single sheet.
Can I print on thicker paper?
Yes, if your printer supports it. Check the paper type setting so the printer uses the right amount of ink and heat.
Set the paper to A4, the scale to 100 per cent, keep content inside a safe margin and always print one test copy. Those four habits remove nearly every printing problem students run into.
Open the free A4 Front Page Studio →