 A4 Front Page Studio
How to Write an Acknowledgement and Index for a Project File
After the cover page, the two pages that most project files share are the acknowledgement and the index. They are short, but they say a lot about how seriously the file was prepared. A sincere acknowledgement shows that you understand who helped you, and a clear index tells the reader exactly where to find every section. Both are easy to write once you know the usual structure, and both are easy to get wrong when you copy a sample word for word. This guide shows how to write each page in your own words, with samples you can adapt.
- Where these pages go in the file
- What an acknowledgement is for
- The usual parts
- A sample you can adapt
- Acknowledgement mistakes to avoid
- What an index (contents page) is for
- How to build the index step by step
- A sample index layout
- Make the cover, acknowledgement and index feel like one set
- Final checklist
- Quick answers
Where these pages go in the file
Most schools expect the following order, though your own notice always wins:
- Front page (cover)
- Certificate, if your school asks for one
- Acknowledgement
- Index or contents
- The project content, with page numbers
- Conclusion or summary
- Bibliography or references
Start the page numbers from the first page of the content, not from the cover. The cover, certificate, acknowledgement and index are normally left unnumbered or numbered with small Roman numerals.
What an acknowledgement is for
An acknowledgement is a short note of thanks. It names the people and institutions who helped you finish the work. It is not a place to praise yourself or to describe the project, and it is not a poem. Teachers read many of these, and the ones that stand out are specific and honest, not the ones with the longest sentences.
The usual parts
- Opening line. Say that you are grateful and name the project.
- Teacher or guide. Thank the person who set the project and explain what they did, such as giving direction or correcting drafts.
- School and principal. Thank the school for the facilities, such as the library or laboratory.
- Family and friends. One sentence is enough.
- Other help. If someone outside school helped, such as a doctor you interviewed or a shopkeeper you surveyed, name them.
- Closing line and signature. Your name, class and the date.
A sample you can adapt
I would like to express my sincere thanks to my science teacher, Mrs. S. Banerjee, for guiding me through every stage of this project on water pollution. Her suggestions on how to collect samples and organise my findings helped me to complete the work on time.
I am also grateful to our principal and to Sunrise Public School for allowing me to use the laboratory and the library. I thank my parents and friends for their patience and encouragement.
Ananya Roy, Class IX-B, Roll 14
Notice what makes this sample work. It names real people, it says what each person did, and it stays short. Copy the structure, not the sentences, and replace the details with your own. If a teacher helped in a particular way, say so in plain words.
Acknowledgement mistakes to avoid
- Copying a sample from the internet without changing anything. Teachers notice identical wording.
- Thanking people who did not help.
- Writing more than one page.
- Using long, complicated words that you would not use in speech.
- Forgetting to sign or date the page.
What an index (contents page) is for
The index lists each section of the project and the page number where it begins. In a school project it works like a table of contents. It lets the teacher jump straight to the part they want to check. A good index is accurate, tidy and complete; a poor one has wrong page numbers and missing sections.
How to build the index step by step
- Finish the content first. Number the pages of the main content before you write the index, because page numbers can change while you work.
- List every section heading in the order they appear, such as Introduction, Aim, Materials, Method, Observations, Conclusion and Bibliography.
- Write the page number where each section starts, not where it ends.
- Use two columns: the section name on the left and the page number on the right, aligned neatly.
- Add a serial number column if your school asks for one.
- Check the numbers by flipping through the finished file and comparing each entry.
A sample index layout
| S. No. | Topic | Page |
|---|---|---|
| 1 | Introduction | 1 |
| 2 | Aim and Objectives | 2 |
| 3 | Materials Required | 3 |
| 4 | Method | 4 |
| 5 | Observations | 7 |
| 6 | Conclusion | 10 |
| 7 | Bibliography | 11 |
Keep the heading names identical to the headings used inside the file. If the index says “Observations” but the page says “Results”, the reader will notice the mismatch.
Make the cover, acknowledgement and index feel like one set
A project file looks most professional when the first pages share the same fonts and the same spacing. Use the same font for headings on all three pages, and align them the same way. If your cover uses a decorative title font, keep the acknowledgement and index in a plain font so they remain easy to read.
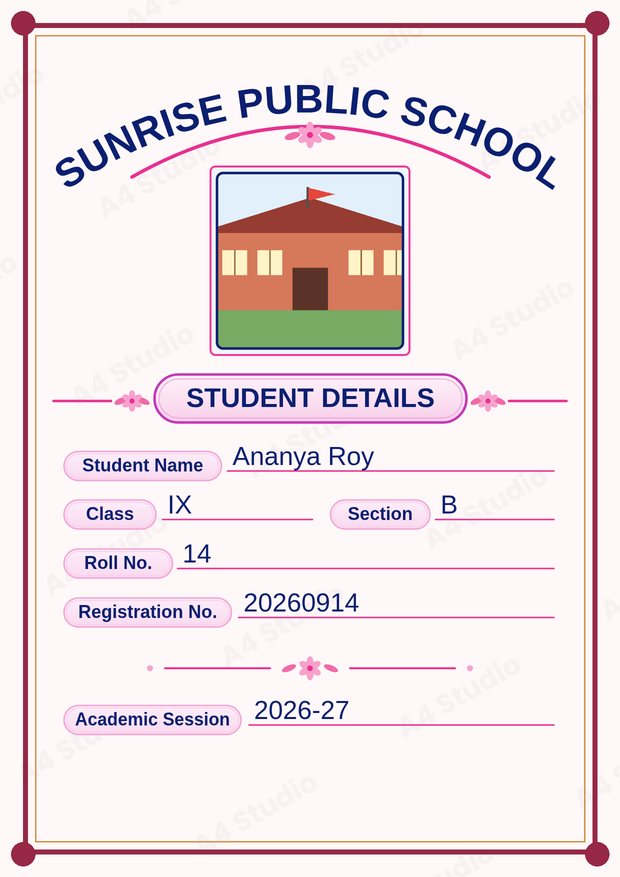
If you need the cover itself, you can make one in a few minutes with the Front Page Maker, and our guide to what to include on a cover page lists the fields to add. Teachers who prepare many files at once may also like the workflow for making covers for a whole class.
Final checklist
- Acknowledgement names real people and says what they did
- It fits on one page and is signed and dated
- Index headings match the headings inside the file
- Page numbers have been checked against the finished file
- Cover, acknowledgement and index use matching fonts
- Everything is free of spelling mistakes
Quick answers
Should the acknowledgement be handwritten?
Follow your teacher’s instruction. If none is given, a printed or neatly handwritten page are both usually accepted.
Do I need both an acknowledgement and a certificate?
Only if your school asks for both. Some schools expect a certificate signed by the teacher, and others do not.
Can the index be made automatically?
If you type the file on a computer, most word processors can generate a table of contents from your headings. For a handwritten file, write it by hand after the content is final.
Write the acknowledgement from the heart in a few honest sentences, and build the index only after the content is final. Together with a tidy cover, these two short pages make a project file look complete and carefully prepared.
Open the free A4 Front Page Studio →