 A4 Front Page Studio
Project Front Page Format: What to Include on a Cover Page
When a teacher says “make a front page for your project,” they usually have a short list of details in mind, but they rarely write it down. Students then guess, and the result is a pile of covers where one has no roll number, another has no session, and a third has the teacher’s name in the wrong place. This guide sets out what a school project cover page normally contains, the order that reads best, and how the list changes between subjects and classes, so you can build one that is complete the first time.
The core details every cover needs
Almost every school expects these items. If you include all of them in a tidy order, you will rarely be asked to redo the page.
| Detail | Why it is there | Common mistake |
|---|---|---|
| Project title or subject | Tells the reader what the file is about | Using a nickname instead of the official subject name |
| Student name | Identifies the author | A short form that does not match the register |
| Class and section | Lets the teacher sort files quickly | Leaving out the section letter |
| Roll number | The fastest way to match a file to a student | Mixing up digits or using last year’s number |
| School name | Needed if the file travels to an examiner | Spelling mistakes in the school name |
| Teacher or “Submitted to” | Shows who will assess it | Wrong title, such as Sir for Madam |
| Session or year | Dates the work | Forgetting to update the year |
Optional details that some schools ask for
Depending on the board and the school, you may also be asked for the following. Always check your project notice before adding or removing any of them.
- Registration number or board roll number, common for board-affiliated projects
- School logo or school photo, usually near the top
- Date of submission, which is different from the session
- Examination name, for example Formative Evaluation or Internal Assessment
- Group members, for group projects, listed with their roll numbers
- School code or affiliation number, mostly for board submissions
Do not add extras that nobody asked for. Quotes, slogans, large clip art and long dedications make the page crowded and rarely help.
The order that reads best
Readers scan a cover from top to bottom, so the most important information should sit at the top and the supporting information below it. A reliable order is:
- School name (and logo or photo) at the top
- Project title or subject name in the largest type, in the upper or middle part
- A label such as “Submitted by”, followed by your details block
- A second label such as “Submitted to”, followed by the teacher’s name
- Session at the bottom
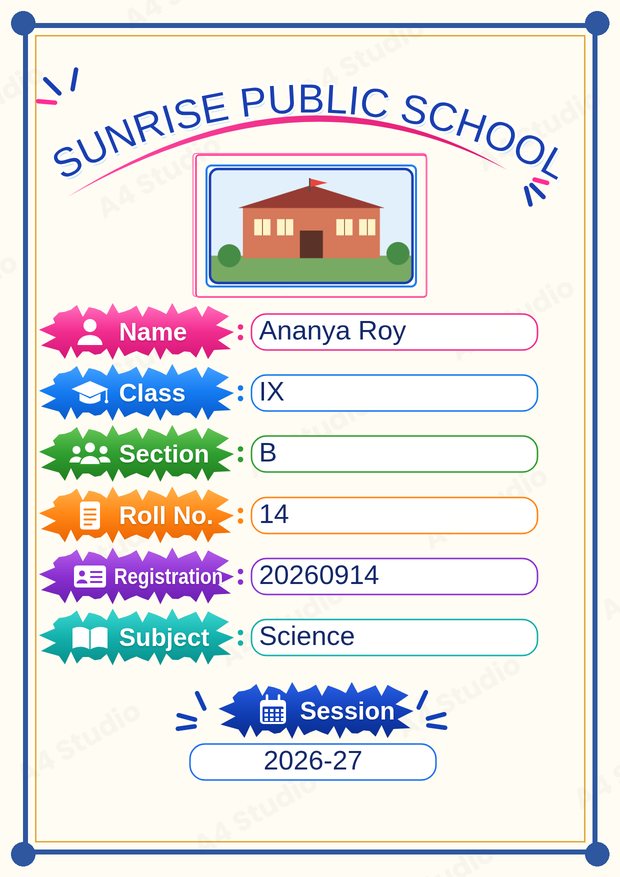
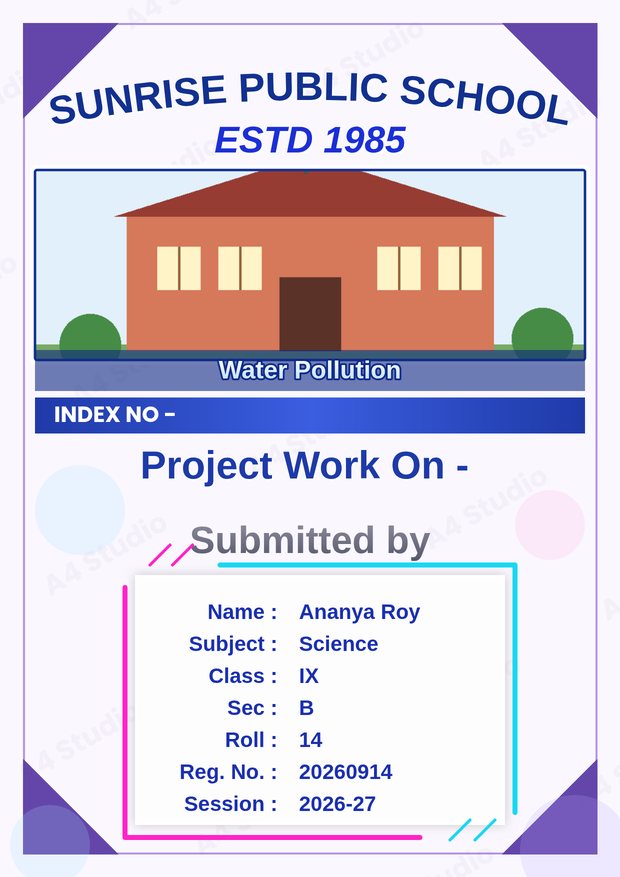
The two layouts above both follow this order, even though they look different. Layout style is a matter of taste. The order is what keeps the page easy to read.
How the format changes by subject
Different subjects invite slightly different covers. A science file normally lists the subject name large and may include the topic of the experiment as a subtitle. A geography file can carry a sky or map-style decoration. A language file often looks best with a calm layout and a clear title. A mathematics file tends to suit a plain, grid-like layout. If you want to explore subject-specific covers in more depth, see our guides on science covers, geography covers and English covers.
How the format changes by class
Younger students can use more colour, bigger type and cheerful decoration, because the teacher expects a friendly look. In classes 9 to 12, a restrained layout with a strong title and a tidy details block usually looks more mature. For board-style or internal-assessment files, treat the school’s written format as law: use the fields in the order given, and keep decoration to a minimum or leave it out altogether.
A sample layout in words
If you prefer to see the layout described, here is a simple one for a class 9 science project. At the top, the school name in capital letters. Under it, a photo box with the school building or logo. In the middle, the large title: “Water Pollution”, with “Science” under it. Lower down, a block with the labels Name, Class, Section, Roll and Registration number, each followed by the real value. Below that, “Submitted to” and the teacher’s name. At the very bottom, the session: 2026–27.
Checklist before you print
- Is the title spelled exactly as in the project notice?
- Do your name, class, section and roll match the school register?
- Is the school name correct and complete?
- Is the teacher’s name spelled correctly and shown with the right title?
- Is the session the current one?
- Is every piece of text at least readable at arm’s length?
- Is there clear space of at least 10 mm around the edge?
Building it quickly
You can place all of these items in minutes with the Front Page Maker. Choose a design, pick a text template whose labels match the fields you need, type the values and check the preview. If your teacher has asked for something that is not in a template, you can still add a custom line of text and move it anywhere on the page.
Quick answers
Should the teacher’s name go on the cover?
Yes, in most schools. Use the phrase your school prefers, such as Submitted to, Project guide or Subject teacher.
Is a school logo compulsory?
No. Add it only if your school has asked for it or allows it. A clean cover without a logo is better than a badly stretched one.
Can I add a decorative border?
Yes, as long as it stays inside the printable area and does not distract from the text.
In short: include the core details, follow your school’s own format wherever it exists, keep the order simple, and check every field twice. A complete, tidy cover is a small thing that makes a good first impression.
Open the free A4 Front Page Studio →