 A4 Front Page Studio
How to Fix a Blurry Front Page Print
A cover that looked sharp on the screen sometimes comes out of the printer soft, fuzzy or covered in tiny blocks. It is frustrating because the page seemed fine a minute ago. The cause is almost always one of a short list: the image had too few pixels, it was compressed too hard on the way to the printer, the printer was set to draft, or the page was enlarged. This guide explains why prints look blurry, how to find which cause you have, and how to fix each one. Use it as a checklist, from the quickest checks to the less common ones.
- Why prints look blurry
- Step 1: Diagnose the kind of blur
- Step 2: Export at the right size
- Step 3: Stop chat apps from compressing it
- Step 4: Check the photos on the page
- Step 5: Fix the print settings
- Step 6: Check the printer itself
- Step 7: Make text easier to print well
- Step 8: Print a test and compare
- If a print shop made the copy
- Quick answers
Why prints look blurry
A screen can look sharp at low resolution because it is small and glows. A printed A4 page is much larger and far less forgiving. To print sharply on A4 you need around 300 pixels for every inch of paper, which is 2480 × 3508 pixels in total. A page with only 1240 × 1754 pixels has half that, and a 794 × 1123 screenshot has about a third. The printer must stretch the missing detail, and stretching always looks soft. Our A4 size guide lists the pixel sizes for every resolution.
Step 1: Diagnose the kind of blur
| What you see | Likely cause |
|---|---|
| Whole page looks soft, text edges fuzzy | Low-resolution file or screenshot |
| Blocky squares around letters and edges | Heavy compression, often from a chat app |
| Stripes or faint lines, colours uneven | Printer in draft mode or clogged nozzles |
| Only the photo is blurry | The photo itself is small or was stretched |
| Text is sharp but ink looks smeared | Wrong paper type or too much ink |
Step 2: Export at the right size
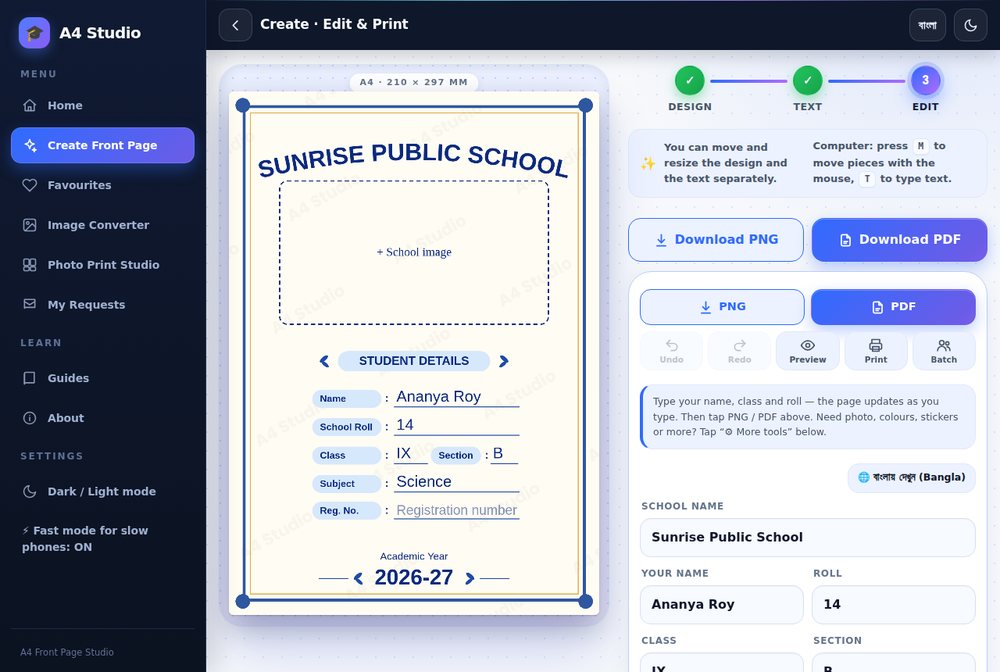
- Use the Hi-res PNG option, labelled 300 DPI, or the PDF, which is made from a larger rendering of the page.
- Avoid screenshots of the screen. A screenshot is only as sharp as your screen, usually far below 300 DPI.
- If you use the Print button inside the tool, it prepares a larger version of the page before opening the print dialog, so that is a good choice too.
Step 3: Stop chat apps from compressing it
If you send the file to a shop or a friend through a messenger, the app may shrink and recompress it. This is the most common reason for blocky, blurry results. Send the file as a document or file, not as a photo. If you only have a photo option, use a cloud drive link instead.
Step 4: Check the photos on the page
A sharp page with a blurry school photo looks like a blurry page. Use an original photo, not one downloaded from a social app, because those are compressed. As a rule of thumb, a photo that appears about 6 centimetres wide should have at least 700 pixels across. Never enlarge a small photo to fill a big box; crop instead. Our guide on the image formats explains how compression affects quality.
Step 5: Fix the print settings
- Set quality to Normal or High, not Draft or Economy.
- Choose the correct paper type, such as Plain or Matte, so the printer uses the right amount of ink.
- Set scale to 100 per cent or Actual size. Enlarging a page stretches the pixels.
- Print from the PDF or the image viewer, not from a screenshot inside a web page.
The full list is in how to print an A4 front page correctly.
Step 6: Check the printer itself
- Run the printer’s nozzle check or print a test page. Missing lines mean clogged nozzles.
- Run the cleaning cycle once or twice, but not more, since it uses ink.
- Check ink or toner levels. Low ink gives pale, streaky prints.
- Use fresh, flat paper. Damp or curled paper blurs ink.
Step 7: Make text easier to print well
Thin, light-coloured or small text always suffers first. If your cover uses a very fine decorative font, increase its size or choose a bolder style. Light grey and pastel text can nearly vanish on paper. Our guides on fonts and colour contrast help you choose text that survives printing.
Step 8: Print a test and compare
Print one copy at your best settings and hold it at normal reading distance. If it is sharp there, small flaws under a magnifying glass do not matter. If it is still soft, repeat from step 2 with a different file, since the file is the most likely culprit.
If a print shop made the copy
Ask which file they received and at what size. Send the PDF as a document, ask for one test print and point out the problem. Most shops will reprint a clearly soft page.
Quick answers
Is my printer too old?
Rarely. Even basic printers print a 300 DPI page sharply if the file and settings are right.
Does PNG or PDF print sharper?
If both are made at a similar resolution, they look the same. Resolution matters more than format.
Can I sharpen a blurry file?
You cannot restore lost detail. Export again from the tool at higher resolution.
Export at 300 DPI or as a PDF, avoid compression on the way, use good photos and print at Normal or High quality at 100 per cent. Those four steps fix most blurry covers.
Open the free A4 Front Page Studio →